“Is that a stock photo?”
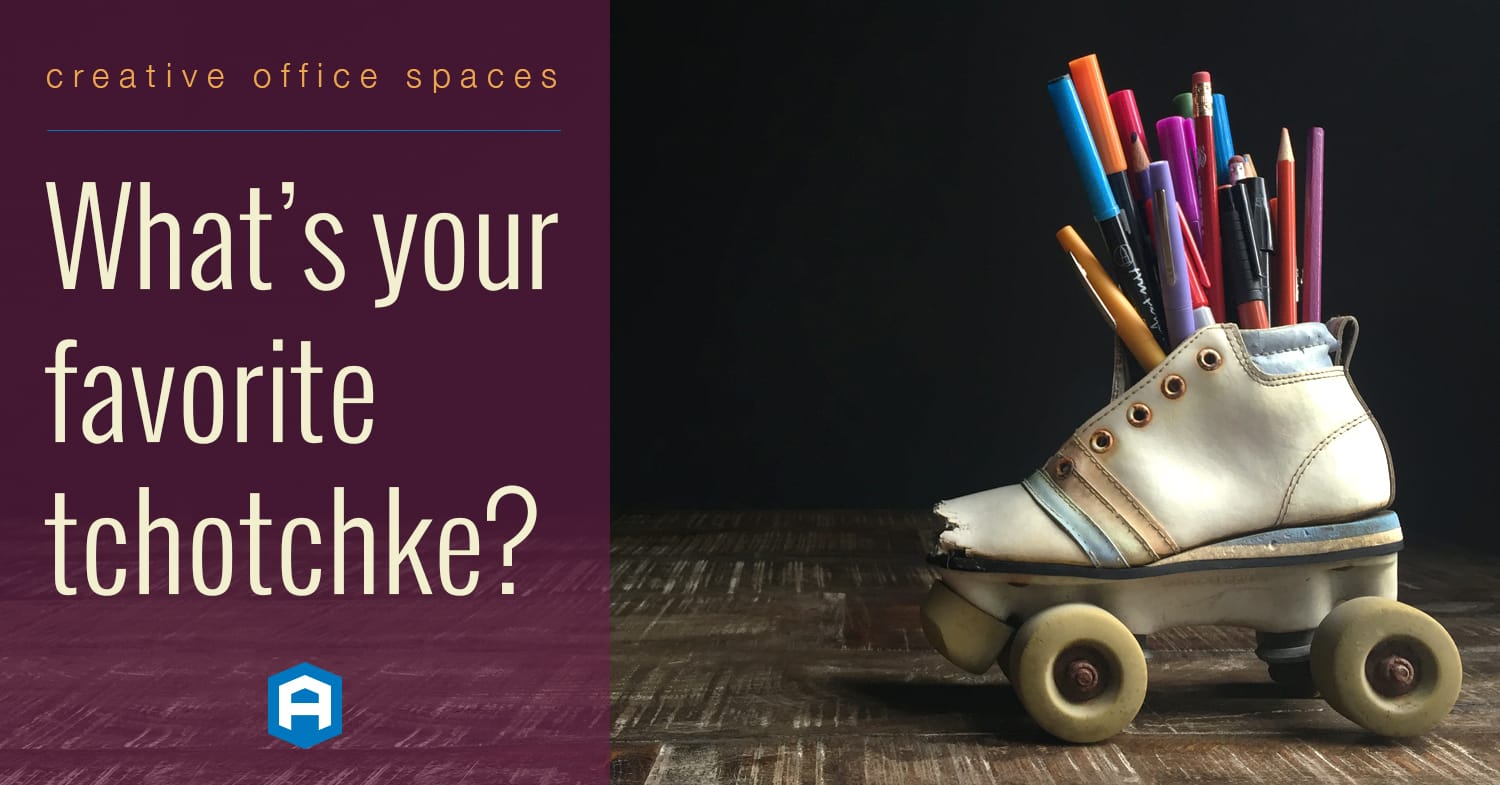
Seriously? No, it’s not. In efforts to not use stock photography for our blogs or social media, I decided to do a simple photo shoot for my blog post on tchotchkes. Now don’t get me wrong, stock photos are not bad or evil, there’s just a high probability that it’s been used on other similar posts and your audience has already seen it once or twice, unless you’ve edited it in a major way. If your image is associated with another post, people will more than likely scroll right past it. We all know that original content gets more engagement, likes and shares.
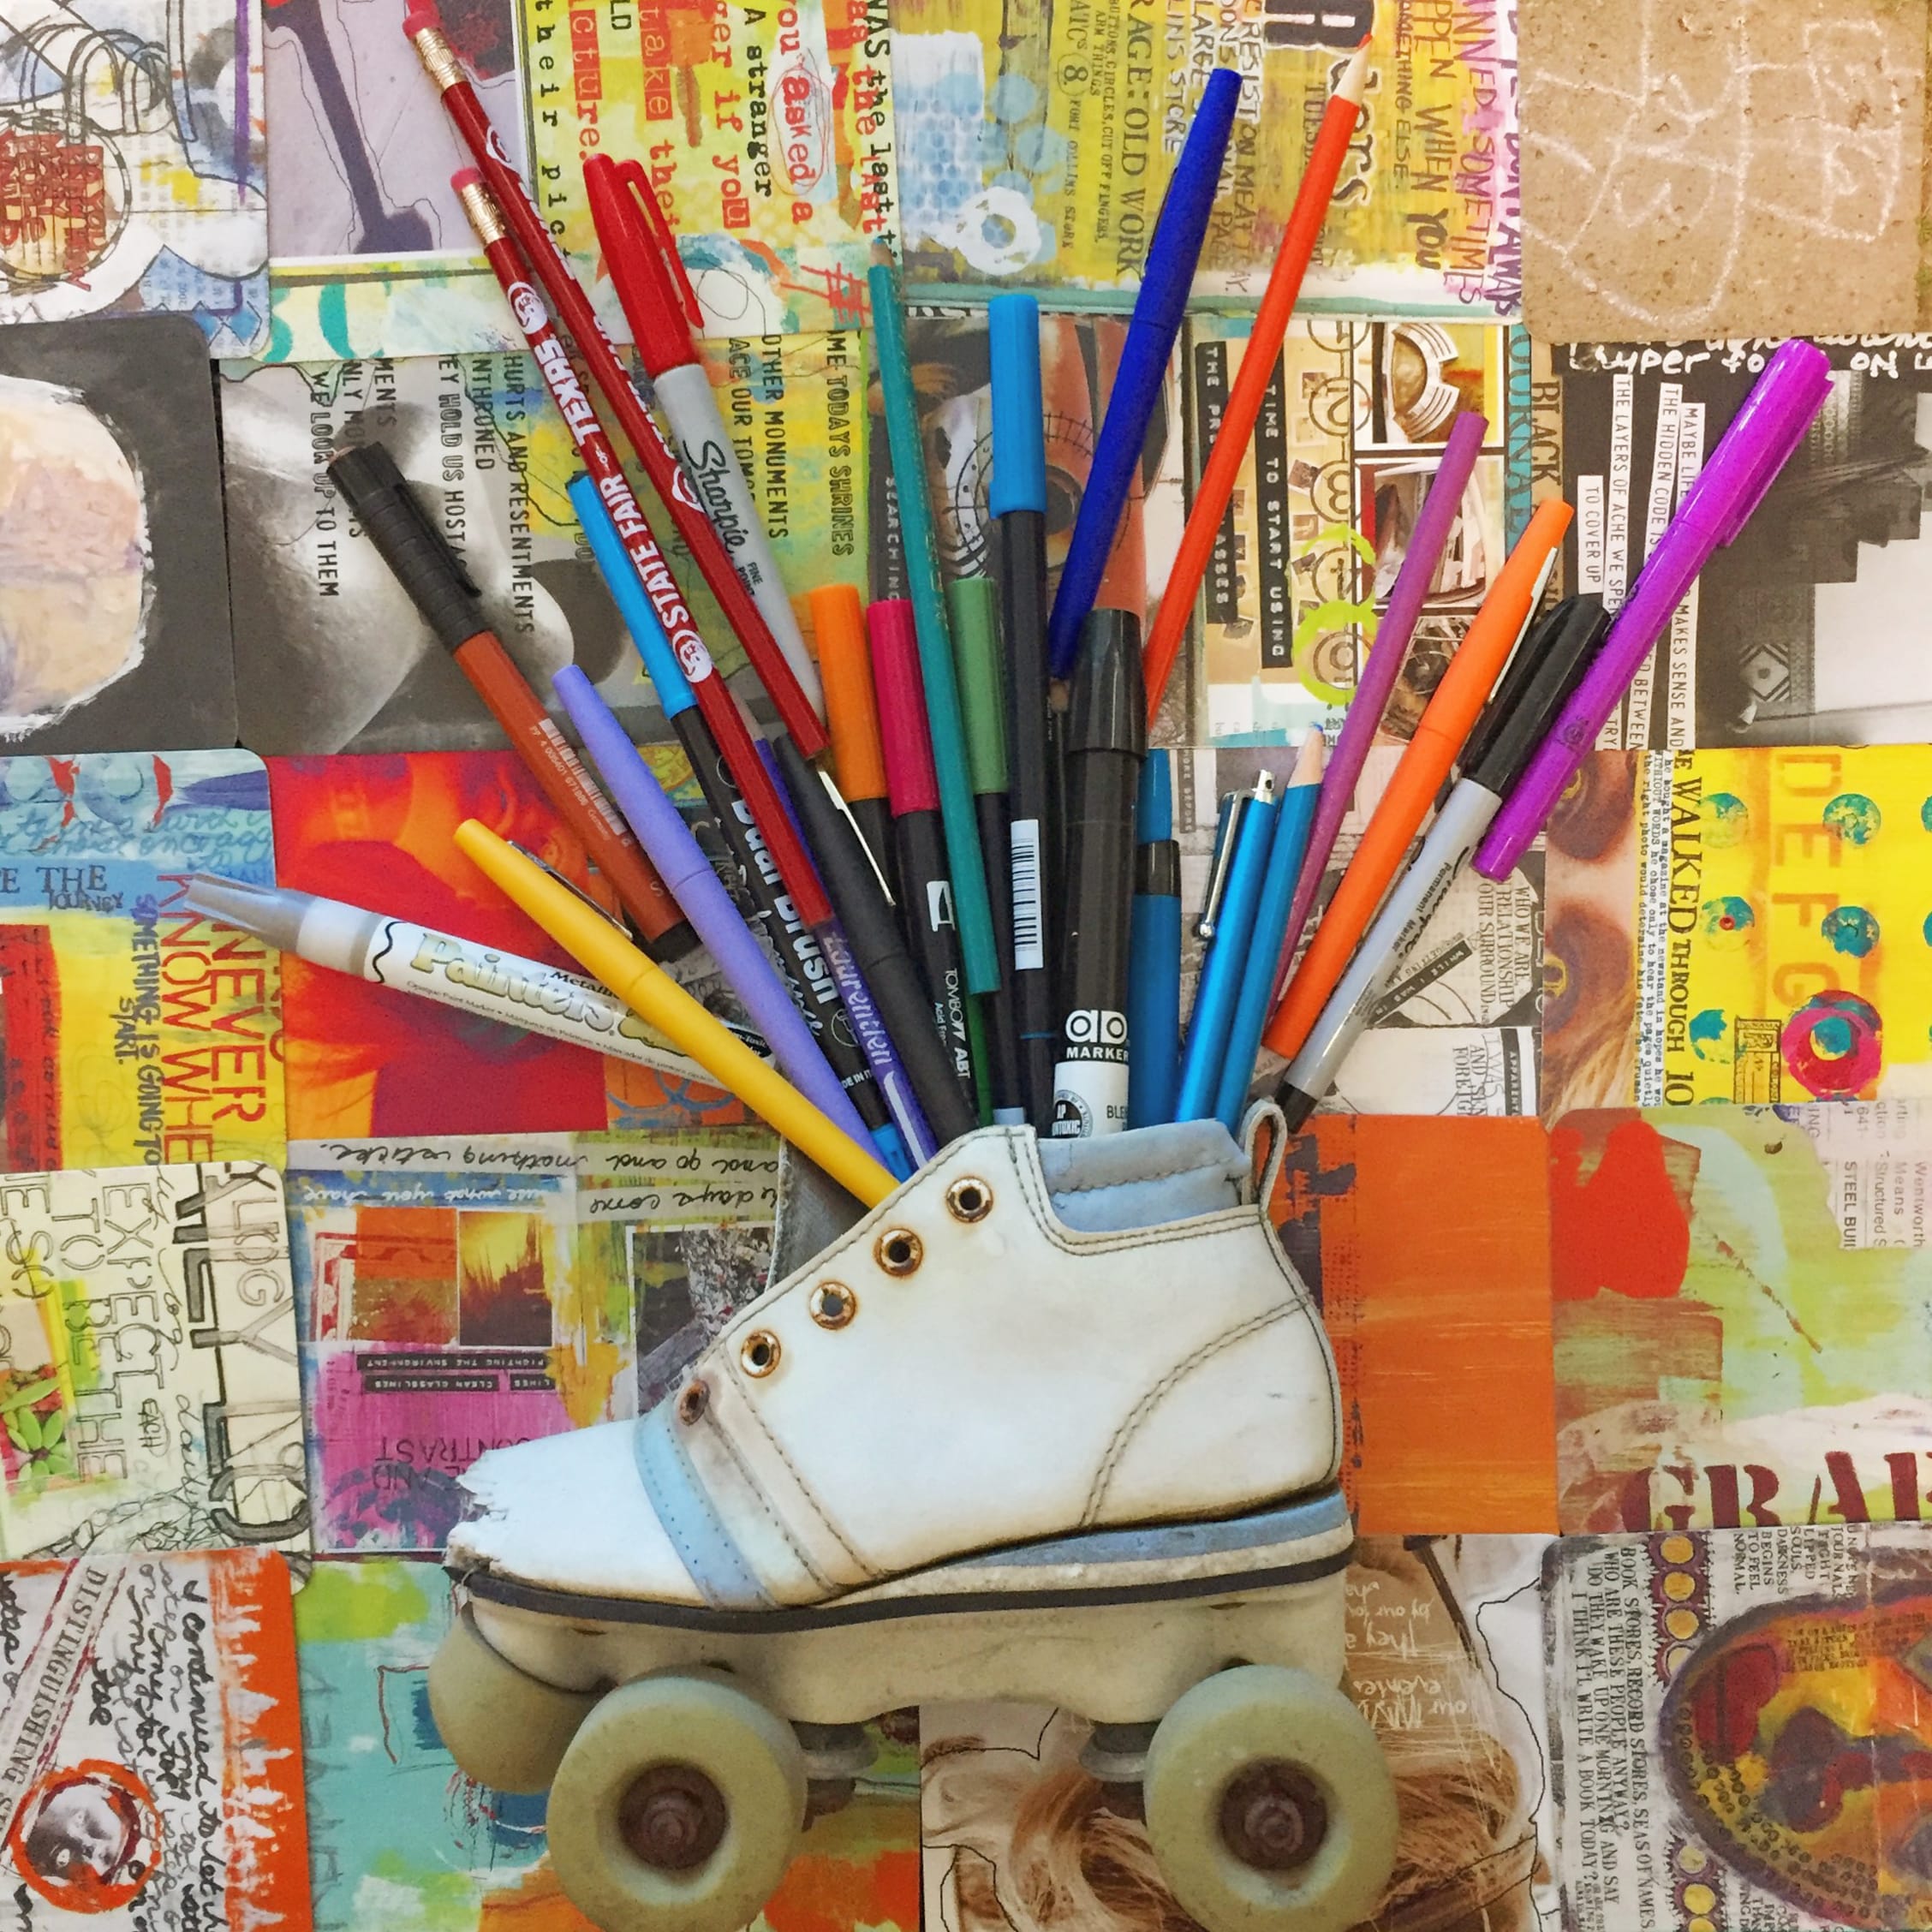
I needed a quick and simple photo of an object. I didn’t have time to get out my camera and set up an entire studio set, so I decided to use my iPhone, some natural light, and my dining room table. I shot a pic of an old roller skate that I keep on my desk to hold my pens and pencils.

The next day, I published my blog post and asked a few of my coworkers to read it. One of them made a comment when she saw the roller skate on my desk. “Oh, I thought that was a stock photo.”
I wasn’t sure if I should be offended that it looks stockish or if I should feel honored that my quick smartphone shot is such good quality that it could pass for a stock photo.
So what’s the secret to taking quick, quality smartphone photos?
7 Tips for Smartphone Photos
1. It’s all about the lighting.
Even though it looks as though the camera has adjusted to the light on your tiny phone screen, when you use the image full size, you will notice a huge quality difference. A photo taken in low light will be very pixely, fuzzy, or a bit blurry. Natural light is best, but you could also strategically place some artificial lights to get good lighting. The original roller skate photo was taken next to a large window with a lot of natural light.
2. Use one subject.
It’s best to have one main subject in your photos, with subject meaning subject matter, person, or object. If you’re doing a comparison, it’s okay to have more. Avoid collages, as they have too many focal points and there’s less chance of them supporting your content. If you’re not sure if it will be too much, shoot several different versions. Phone cameras do not handle depth of field like a DSLR so multiple object photos may look too busy.
3. Location, location, location.
The great thing about your smartphone is that it’s convenient. Choosing a location doesn’t mean lugging around a bunch of equipment. It also may just mean moving across the room next to a window or going outside. I shot the images below just walking around the office complex. I am known as the “roller skate lady” now.

4. Get rid of visual clutter.
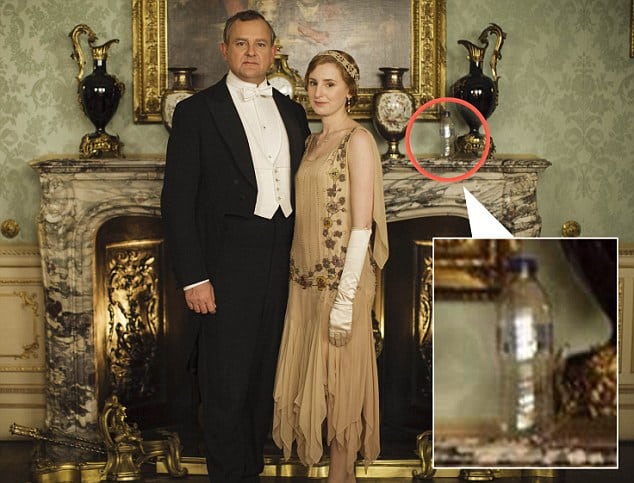
When looking for a place to shoot, look for clean, simple settings for your photos. If you’re shooting a person or an object, you want your subject matter to be the focal point of your shot. Move any unwanted objects out of your photo area. Don’t be Downton Abbey with the water bottle on the mantel. I could have shot the skate on my desk at work, but it would have looked more like a snapshot and would lack visual interest.
5. Keep shooting, then shoot some more.
Shoot a minimum of three perspectives. I’d do more, but no less than three. Digital photos cost you nothing and there’s nothing worse than getting the photo ready for your post and wishing it was a little to the left or shot from a different side. Retakes are time consuming. Take multiple shots from different angles. Shoot from the left, right, top, and bottom. Shoot far back and close up. Stand on a chair and shoot. Lay on the floor and shoot. Hold the camera over your head and blindly shoot. Shoot horizontally, then vertically. If you’re creating an ad, don’t forget to leave room for the text, logo or cropping.
6. Don’t use the zoom.
The digital zoom on (most) smartphone cameras is just that. Digital. In most cases, you will get a poor quality image. It’s not actually zooming in with the lens, it cropping a piece of a larger image. This can be deceiving, as it may look great on your phone, but when viewed full size, you will see the difference. It’s not pretty.

7. Be creative.
This is the most important thing to remember. Look at Pinterest for inspiration, Google ideas, and try different concepts. Change the location. Change the background. Rearrange the objects. Place your item in an unexpected location. Make it funny. Mix it up in any way you can think of.
Are you ready?
Go take some photos! Hopefully some of these tips will help you in creating media for your digital marketing needs. Do you have some other tips on shooting with your phone camera? Share them with us in the comments below. Happy shooting!
Need Specific Help?
Interested in a specific topic? Review the topics below to get the info, news, and tips you need!























![HubSpot Partner Day 2019 [Recap] 47 ADC partner day 1200x630 1](https://www.atomicdc.com/wp-content/uploads/2019/09/ADC-partner-day-1200x630-1.jpg)


![30 Awesome HubSpot Tools That Won’t Cost You a Dime [Free Inbound Marketing Tools] 51 30 hubspot tools that won't cost you a dime](https://www.atomicdc.com/wp-content/uploads/2019/06/ADC-30-hubspot-tools.jpg)


